Why is it that cellphone covers come in so few styles? The ones which you happen to like are inordinately expensive, I mean how many of us can afford diamond encrusted cellphone covers! Well, if you want to jazz up your phone a bit, try out these DIY cellphone cover ideas. You can make them from easily available materials, which will cost you next to nothing. Or you can make them from things you already have at home. Take a look at the ideas we have compiled for you:
15 DIY cellphone cover ideas
1. DIY glitter phone
 This DIY cellphone case idea is super simple and super easy. Even if you’re not a fervent DIYer, you can accomplish this glitter craft, and show off your designer cellphone case. It can be as colorful as you want with multi-color glitter or use a single color to create a one of a kind DIY cover. Its eye candy you’d love to flaunt!
2. Neon studded cover
This DIY cellphone case idea will bring back 80s nostalgia. Spend a lazy Sunday afternoon sticking neon studs on your phone to give it a completely new and cheerful look! Another take on this idea is to use little golden studs.
3. Sharpie designs
Make your friends jealous with this fantastic DIY cellphone cover idea. Use different shades of colored pens to draw geometric patterns on the cover of your phone. Draw minute lines and patterns to fashion your own striking designer cover. This craft is easy but needs a little time and patience to complete. The end result however, is mind blowing!
4. Impressionist art cover
Your phone cover will look like a limited edition designer cover with this DIY cellphone cover idea. Get inspired by impressionist art to create your own design. You can paint on the cover or stick a printed cloth to make a unique cover. DIY phone case materials are inexpensive, but look great. Crafting your own cover is an excellent way to express your choices and taste.
5. Repurpose left over textiles into stylish cellphone pouches
Use up all the nice fabrics you had stored in the hope of making something with them. Velvet, felt, cotton, linen all make great pouches for phones. Make a simple one which fits like a sleeve over the phone. You could also make a pouch with a button and use it as a handy wallet too. This ecofriendly DIY cellphone cover craft is cheap and best!
6. Leather envelope cover
If you’re not into the whole lacey look, make a splendid cellphone case out of leather. Cut out a raw leather strip and stitch it to give the shape of an envelope. A smart and sturdy cover for your expensive phone; you can even gift it to or your boyfriend, friend or anybody that you want to. Don’t like the envelope shape, make a simple pouch from the leather.
7. Starry design
For this idea, you will need some glue and tiny star shapes. Create a wonderful cute starry design for your phone. This DIY cellphone cover idea is beautiful and feminine.
8. Map cover
If you’re as direction challenged as me, this map idea is just perfect. Print out your area’s map and stick it on the cover, and never lose your way again!
9. Pearl case
 Love pearls? Show your love for them with this pretty pearl phone cover idea. DIY phone case materials like pearls can transform your drab, old phone into a gorgeous cellphone cover you’ll be proud off.
10. Lacey cover
You need just a few pieces of lace to improve your smartphone cover. Show the world your elegant and delicate taste with this incredibly simple craft. In fact this is one of the most creative cell phone accessories you can think of.
11. Pressed flower cover
Pressed flower cover idea is one of the most beautiful ideas you can use. It’s elegant and sophisticated and speaks volume about you.
12. Nail polish idea
You definitely must be having some nail polish at home. Mix and match several nail polish colors to DIY cellphone case with nail polish. Any design will look good, floral and polka dots, and if you’re not the arty type, just draw fine and thick lines with nail polish on the back. DIY cellphone case with nail polish craft ideas is one of the best ideas for cellphone covers we have come across.
13. Duct tape idea
One thing that you have at home is duct tape and some free time you don’t know what to do with. Use up both by crafting this special phone cover out of nothing but the duct tape. It’s one of the fastest DIY craft ideas for phone covers, as all you have to do is cut it and stick it!
14. Washi tape cover
Washi tape might be a better idea for a phone cover design, if you’re not a diehard duct tape lover. This tape will add a fun and vibrant look to your phone.
15. Squishy DIY phone cover
Transform your old phone into a new one with these DIY covers. These personalized covers are amazing and can be made in just a little time, without any expense at all. Attach tiny squishy teddy bears or pandas to the back of your phone. We love this adorable idea!
DIY Cellphone
 This is more like a do it yourself cell phone that one can make at home. You will be able to make and receive phone calls, display date and time along with setting alarms, storing contacts, and playing games. It can successfully connect with the GSM networks and uses a full size SIM. It is built on an electronic circuit board with approximately 60 components along with a laser cut enclosure. The hardware and software used are both open source. One of the main reasons why this idea became so popular is because, though cellphone is a very popular device, people hardly have a clue as to what goes into making a cell phone. And through this process they will have a better understanding as to what goes into making a cell phone.
Making a cell phone:
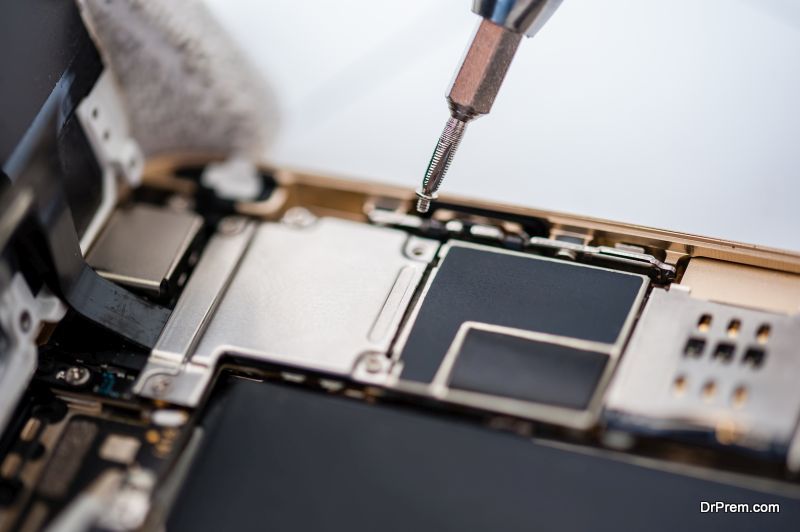 It is just like any other DIY project. You need the raw materials and the parts, coming up with a way to put them all together while making sure that it is attractive and tough at the same time. It is not mandatory to have any knowledge of electronics, but it does involve soldering of different types of parts, using the laser to cut the components in a certain manner, which can be difficult for someone who hasn’t had any hands on experience. Also it will test your knowledge of configuring software as well. Let us go through the entire process stepwise to make it simpler.
Ordering all the required components:
You can place an order online as per the requirement. Once you have the circuit in hand, you will be requiring a good soldering setup. If you want to avoid setting up your very own electronics lab and save the hassles of using soldering and other programming tools, try looking for a local electronics lab or a space that already has those equipments and seek the help of the expert. Most of them will readily agree for helping you out. Wooden sheet, nuts and regular size SIM card are amongst the other required components. Modules of PCB and GSM will also be required, which may take a couple of weeks to arrive once ordered.
Soldering:
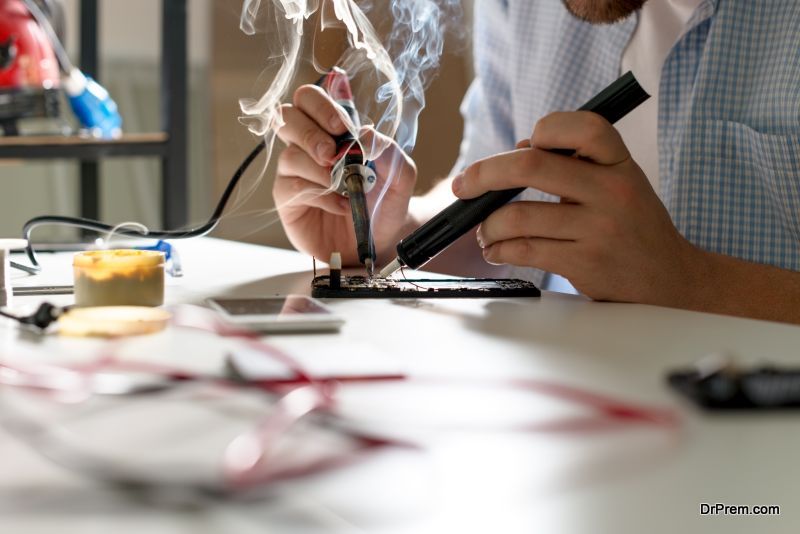 Making a cell phone involves soldering many small components. Make sure you go through some tutorials just to be sure how it works.
Uploading the software and connecting to the network:
Connecting to the network is not as easy as it sounds. There are a lot of things that you need to be sure of. At times a lot of things might not even work. There will be instances when the phone will take forever to connect to the network by showing ‘connecting’ on the screen. Here you will have to troubleshoot the problems and try coming up with the possible solutions. Here are some of the things that you need to make sure of.
- If the SIM card is inserted properly in the socket.
- If the SIM socket is soldered properly.
- Are the antennas soldered correctly?
Using the phone:
When you start your phone, initially it will be locked with a blank screen. Press any button to unlock it. When the date and time start scrolling back and forth, you will have to press the unlock button.
Adjust the brightness and contrast:
After unlocking the phone, use the up and down buttons to adjust the contrast.
Start dialing:
From the home screen itself you can start dialing the numbers. Simply press the first digit, and you will be navigated to the dialing screen. Start inserting the remaining digits.
DIY Smartphone With Touchscreen
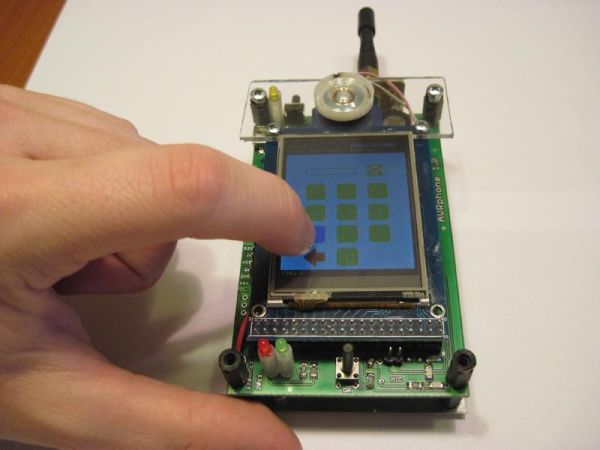
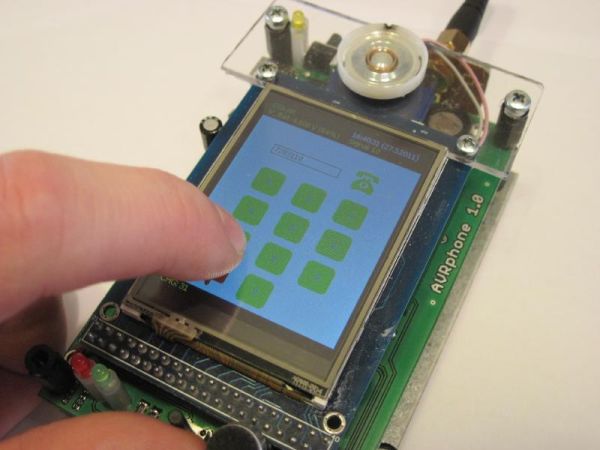
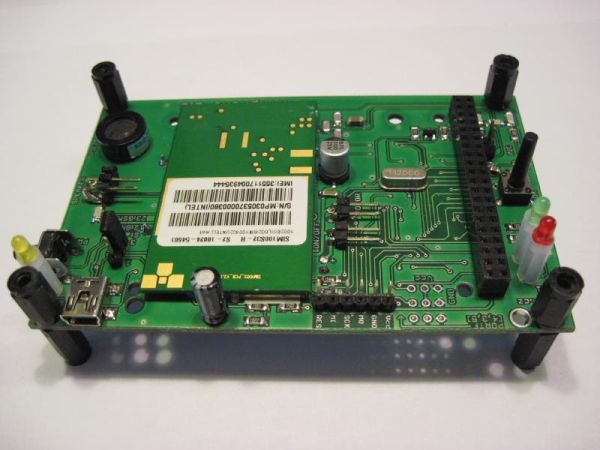
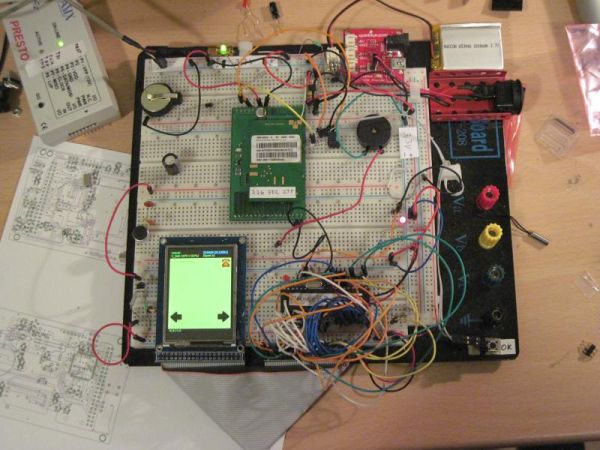
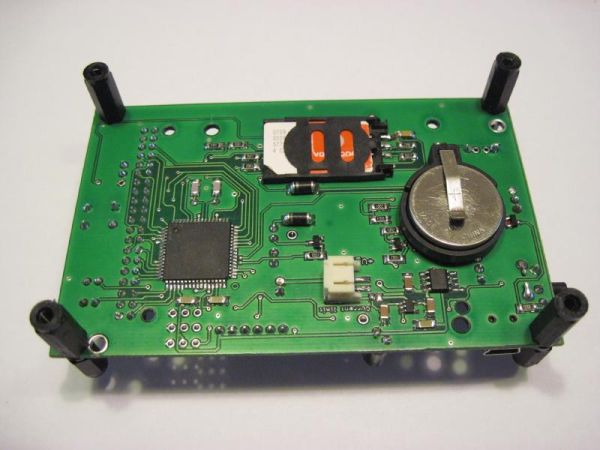
AVRphone is a basic touchscreen phone which works over AVR ATmega128 microcontroller. This small microcontroller has 128 KB of flash memory and 4-kb SRAM. A lot of DIY cellphones have been popping out lately; however, in this cellphone, all major components are compressed on a chip, in a small space. The anonymous designer procured ready made parts and assembled them with a simple code for user interface.
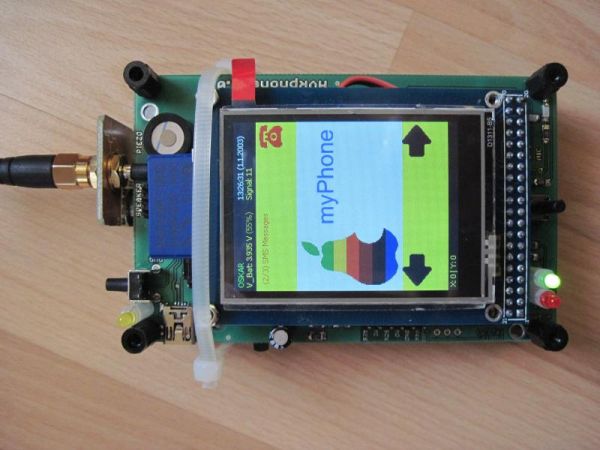
This phone has a 2.4 inch touchscreen which works with the help of touch foil or stylus and ILI9325B controller. The screen communicates with circuit using a 16 bit bus. The screen is made with two layers – flexible and rigid polyester glass. When touched, these conducting layers help tracking the touch co-ordinates.
SIM100S is used as the GSM radio in this phone. GSM radio helps you connect to GSM mobile networks to make voice calls and send texts. This module also occupies the SIM card.
Hackaday says, glimpses of the internal software tell some serious work that has been done on it. This phone represents a very bare model with very less footprint. The designer used a simple user interface which can be handled easily by an 8-bit microcontroller. It works on very limited resources which makes it efficient, hence it saves battery. This phone has the largest non-solder screen in the world. The touchscreen serves for the keypad and for user interface too.
Five DIY tricks to increase your smartphone’s life
Imagine you purchased a costly smartphone with much of your savings, and you dropped or scratched in a minute. Do you think there is no other way than replacing this phone with a new one some other time? Not really…when you can follow some of the tricks that could even save your phone out of a liquid dip or hard crash! Just check out these top five do-it-yourself tricks for repairing or upgrading your phone so these could save you time and money if your phone somehow faces a harsh blow.
1. Handling a dead battery or shattered screen
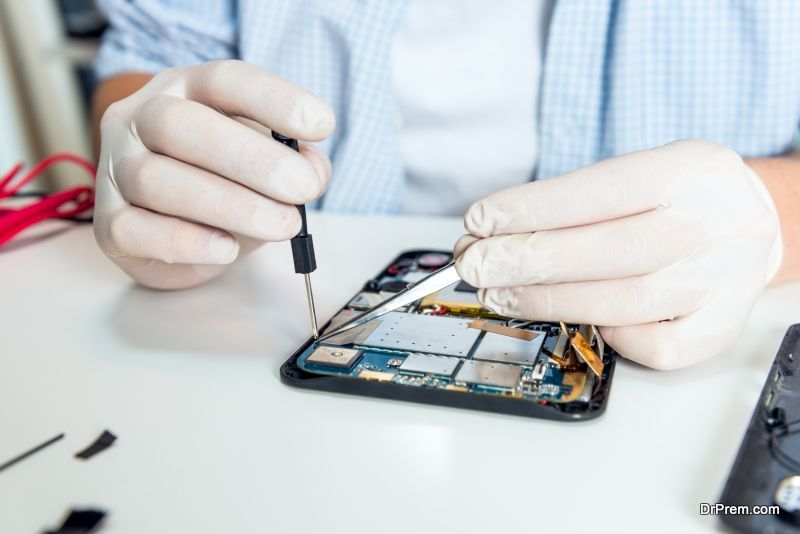
 If your smartphone’s battery is not holding the same charge as before or has gone dead, this is a signal for replacement and not for throwing your phone away. Much like Android users, iPhones users can also do it in a simple way. Just buy a replacement battery online and carefully put it in place of your old battery by opening your phone using a toolkit. Your phone will get refreshed as it always was. The same is true about a phone whose screen is damaged because of a drop. Just be brave and grab your toolkit to replace this scratched or shattered screen with a newly purchased screen.
2. Tooth-picking a loose port
If your phone’s micro-USB or charging port has gone loose, all that’s to be done is to take the dirt or lint out with a sharpened thin toothpick. You will see how your charger fits back in so well.
3. Feeding rice to a soaked phone
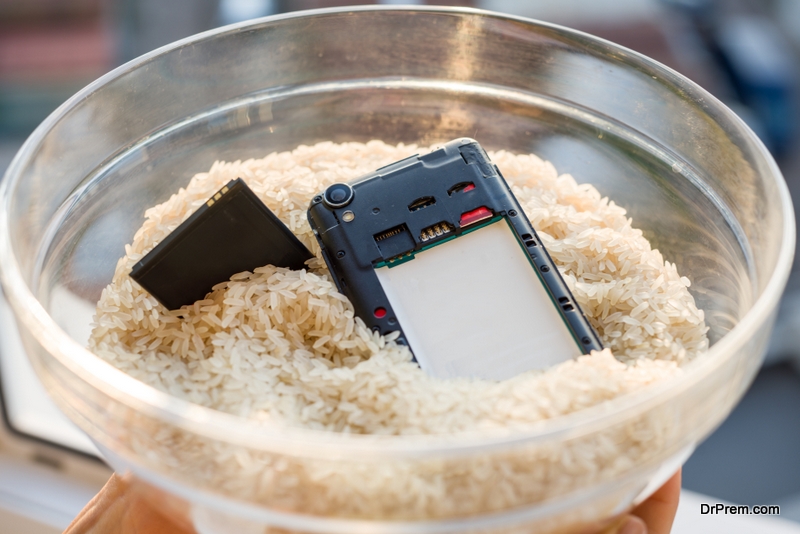 Sometimes, your phone gets dropped and it doesn’t matter much. However, when it gets dropped into water, the situation becomes difficult as it might stop working due to moisture. Under such conditions, you should first remove the battery and then quickly get it into a bag of rice. Leave the phone there for a day or two; it’s better if you keep it for a longer time. If the screen isn’t working properly after a dip, try massaging away the stuck pixels with fingers.
4. Make a DVD lens turn into your camera-phone’s lens
For a broken or scratched phone lens, an easy replacement can be the lens of an old DVD player. If you have a player lying around uselessly, just take out its lens and fix on top of your broken phone lens to make it work again the same way.
5. Making unresponsive or stuck buttons work
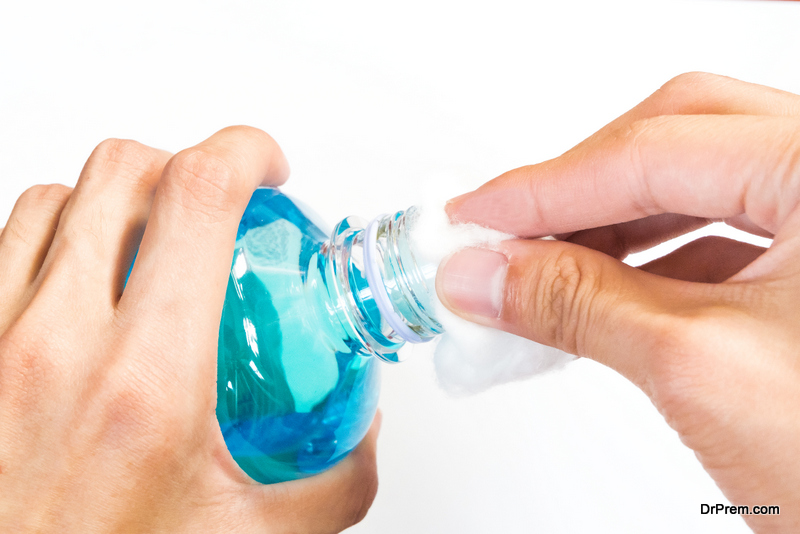 If your smartphone buttons don’t work in a smooth manner, you can rub a piece of cotton dipped in alcohol on them. Then, wipe off and press the button multiple times to make it work. Although this tip mostly works, but if it doesn’t, you might have to replace the button that can again be done easily by opening the phone with a toolkit and replacing the old button with a new one to be found on online stores as a spare part. Apart from these tips, you may utilize some software solutions to make up for the button.
