Project
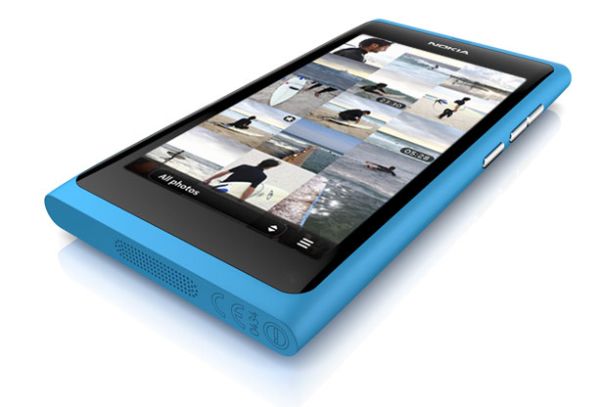
Google has become a part of everybody’s life, especially to those who use internet frequently. Right from customized searches to calendar reminders, Google helps us with its unparalleled facilities and easy-to-use interface. The advent of smartphones have opened up several ways to access internet at ease. Nokia N9 is a benevolent handset that has been designed with state-of-the-art features. As the device runs on MeeGo OS version 1.2 Harmattan, Android users might find it quite tricky to synchronize their Google account with N9 handsets. Certain users have also experienced problems with synchronization of particular features like calendar and contacts. If you are facing difficulties in linking your Google account on your N9 handset, here’s an easy method to synchronize it successfully.

Difficulty level: Easy.
Time required: A few minutes.
Instructions
-
If you are familiar with your handset’s basics, it is quite easy to link your Google account within a few seconds. In fact, there is a dedicated application in N9 that allows you to make this process easier. Look for the Accounts application in your handset and click it.
-
Once the application opens up, you may find the ‘Add accounts’ option at the bottom of the list. You would need to scroll down a few items to see this option.
-
When you are done with the previous step, you would be tempted to use the ‘Google’ option in the appearing screen. This is one of easiest ways to interlink your Google account with Nokia N9; however, you may experience little difficulty and glitches with this method. Instead, use the ‘Mail for exchange’ option.
-
The next screen demands you to input your Google account’s details such as username and password. Enter your details correctly. Please, don’t fill up anything for the ‘domain’ field.
-
After you fill up the required details, click on the manual setup option.
-
A list of options will appear immediately. Take time to read the entire options and check in the items that you wish to synchronize on your N9 handset. For normal usage, check in the calender, mail and schedule options.
-
Make sure that the server address is set to m.google.com. You may have to manually type it in the required field.
-
To mention, the port field should also be set to 443.
-
After filling the above mentioned details, click done. However, users might find several other options to be filled out. For general purpose, these limited details are sufficient enough to synchronize the application successfully.
-
Within a few seconds, the Google application with get synchronized and then you may access your calendar details, email and contacts list at the comfort of your Nokia N9 device.
Frequently asked questions
1. Do I need to install any new application on my Nokia N9 handset to make it synchronize with my Google account?
No. You need not install any new application. However, make sure that your handset is compatible with ‘Mail for exchange’ and download the latest version of the same for your handset.
2. What are the precautions and necessary steps to be taken before I proceed with the instructions ?
You just need to take a backup of your phone before you proceed with this process. You may do it with Nokia PC suite or any other phone management software.
3. What to do if my handset still doesn’t synchronizes with the Google account through ‘Mail for exchange’ application?
Most probably, your handset will definitely synchronize through ‘Mail for exchange’ application. However, if the problem still persists, using CalDAV option would help you to synchronize your Google calendar with your handset.
Quick tips
As it’s always good to know more than one solution, learning to use CalDAV option might help you in the future. In order to synchronize your Google calendars with this option, you must proceed with the following steps.
-
Choose the CalDAV option from the add accounts feature.
-
Input your Google account’s username and password.
-
Type google.com in the server field and make sure that you have spelled it correctly.
-
When you have done, your default calendar will be synchronized.
Things to watch out for
-
There are chances of data loss while performing any of the processes mentioned above. Therefore, make sure that you have taken a backup of your handset’s data before you proceed with these troubleshooting processes.
-
Using CalDAV option would help you to synchronize many calendars. On the other hand, Mail for exchange option would deliver a precise synchronization and performance. You may choose any of these options according to your needs.
-
Please don’t make any changes if you are unsure of using any options in the application. Kindly approach your nearby Nokia service center for hassle-free solutions.
