


Introduction
Chargers are required for almost all cell phones and if your are having basic electrical and soldering knowledge along with a hand-crank flashing, the hand-crank charger can be easily made at home. The charger can be very useful in conditions when you are in middle of nowhere and your phone suddenly drops dead or you are in your office and want to check you email while the phone’s battery is finished. Therefore, the handy charger can be a very handy item in times of emergency.
Difficulty level: Moderately challenging.
Time required: 4 to 8 hours.
Resources required:
1. Hand crank flash light
2. Cell phone charger
3. Mini drill
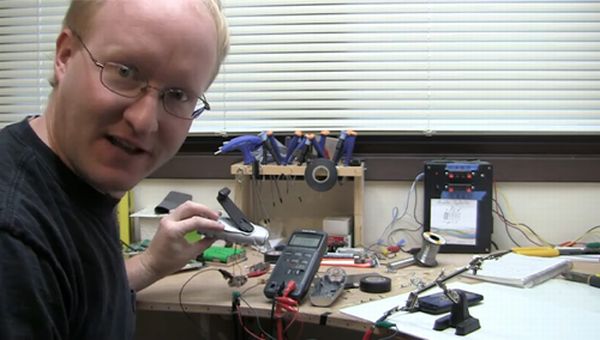
4. Soldering equipment
Instructions
1. You need to purchase a hand crank flashlight from the market if you do not already have one. These are available at all hardware stores and cost somewhere between $15 to $20.
2. Remove all the screws of the flash light and dis-assemble its assembly. Now you can remove the casing form the light slowly. Inside the shell you will find a circuit board which contains a small hand crank power generator and also a battery (pretty small in size) which is used for generating power inside the flashlight. The red and black wires connect the generator to the battery.
3. You can use the extra electrical charger of your phone for making the hand-crank charger. Cut off the part which connects the charger to the electrical socket. You will now have the end of the charger which connects to the cellphone and also contains a wire which is coming out of it. You can now strip the insulation from the wire of the charger which will give you the insulated red and black wires. You can now strip each of the wires for about half inches each. This will give you two copper wires which are exposed.
4. Now you can solder the red wire to the positive terminal of the small battery which is contained in the flashlight. The black wire has to be soldered to the negative terminal of the battery. Now you will have two sets of wires emanating out from the battery. One connects the battery to the hand-crank generator while the other set connects it to the cell phone charger.
5. By using the mini drill you can crate a hole on the casing of the flashlight. The hole will help in providing proper fitting to the wires of the cell phone charger.
4. You can now crank the flashlight after plugging the cell phone into the charger. You will find that the battery is receiving a charge. By cranking repeatedly the handle of the flash light you can fully charge the battery in approximately ten to fifteen minutes.
Frequently asked questions
1. Is the portable cell phone charger also available in the market and does it cost more or less than the portable cell phone charger made at home?
Yes, the portable cell phone charger is also available in market. But, the portable cell phone charger available in the market costs more as it also includes the labor cost of manufacturing it.
2. Is there any other kind of portable cell phone charger available?
Yes. The solar battery cell phone charger is the other option and can be used as a portable cell phone charger.
Quick tips
1. The portable crank phone charger is more useful for the phones which can be charged by the USB port.
2. Having prior knowledge of the steps for making portable cell phone charger would be very beneficial. Video of the process is also available on YouTube and you can watch the live demonstration of the manufacturing process.
Things to watch out for
1. Use black eye glasses while soldering as the soldering light might harm the eyes.
2. Use a good quality flashlight for having a portable cell phone generator. This will ensure that the charger lasts for a longer time period.
Via: Hacknmod